Sharp OSA Connector
The FaxPress Plus connector enables Sharp customers to fax documents directly from any Sharp MFD compatible device. Once installed, a FaxPress button shows up on Sharp control panel screen. To fax a document, users are prompted to scan and enter a list of recipient names and fax numbers. Recipient information can be entered directly via Sharp console or selected from any database address book. Users may also select which cover page to use and enter a short message to appear on to the cover page.
Installing the Sharp OSA Connector
Before being able to use the Sharp OSA functionality from your Sharp MFP device, the Sharp OSA Connector must first be installed on the FaxPress Plus server on the network. The necessary files reside on the FaxPress Plus 5.0 client CD that shipped with your FaxPress Plus unit.
Before proceeding, you must have access to your FaxPress Plus server, either locally or via Remote Desktop.
To install the Sharp OSA Connector on your FaxPress Plus server:
| 1. | From the \Add On Products\Sharp\ directory on the FaxPress Plus 5.0 CD, copy the file FaxPressOsaSetup.msi to your FaxPress Plus server. |
The method you use to copy the file to your FaxPress Plus server is up to you. One method is to copy the file in step 1 from the CD to a shared directory on a client workstation. Using Remote Desktop, access the shared directory from the FaxPress Plus server and copy the file over using Explorer. Whatever method chosen, the result should be that the FaxPressOsaSetup.msi file resides on the FaxPress Plus server.
| 2. | Launch the FaxPressOsaSetup.msi file. Click Next> on the initial dialog displayed. |
| 3. | It is not necessary to change the default settings in the Select Installation Address screen unless absolutely necessary. You can press Disk Cost... to see how much disk space is available on the FaxPress Plus server. |

| 4. | Start the installation by pressing Next>. |

| 5. | Press Done to finish the installation. |
| 6. | Launch Internet Explorer on the FaxPress Plus server and connect to http://localhost/faxpressconfig.aspx. The Castelle FaxPress Plugin Configuration page is displayed. |
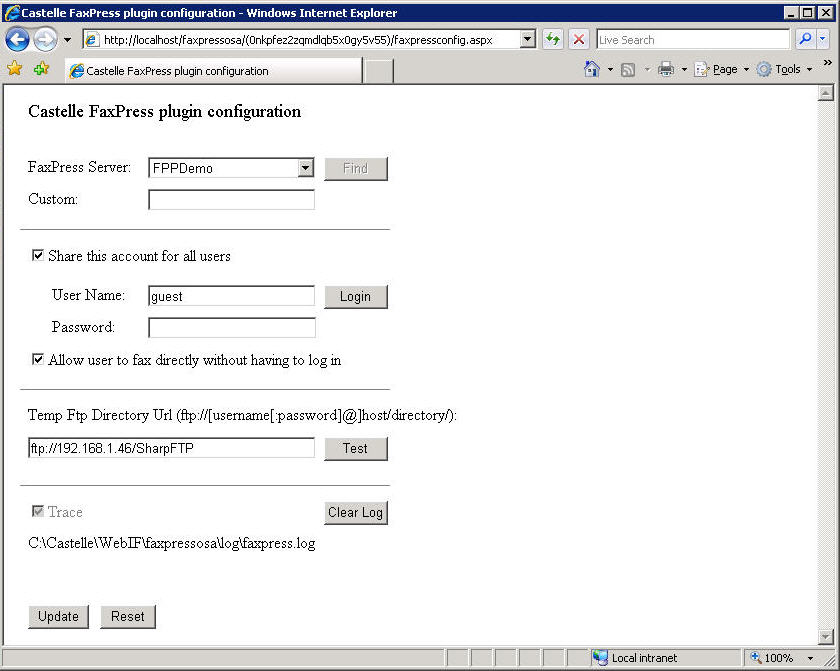
| 7. | Configure the fields and checkboxes in the Configuration page as follows: |
| ■ | FaxPress Server - |
| ■ | Custom - |
| ■ | Share this account for all users - |
| ■ | User Name - |
| ■ | Password - |
| ■ | Login - |
| ■ | Allow user to fax directory without having to log in - |
| ■ | Temp FTP Directory URL - |
| ■ | Test - |
| ■ | Trace - |
| ■ | Clear Log - |
| ■ | Update - |
| ■ | Reset - |
Configuring the Sharp MFP
The connector runs as a .NET application installed on the FaxPress Plus server. To add FaxPress Plus to the set of applications available on the MFP, you will first need to register the OSA Application. This is done by specifying the address of the home page for the FaxPress OSA application.
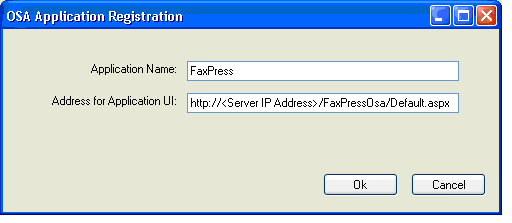
The application home page can be accessed at:
http:// <Server IP Address>/FaxPressOSA/Default.aspx
Replace <Server IP Address> with the actual IP address of the FaxPress server.
Once the application is registered with the MFP, it will show up in the list of external applications

Administration
An administrator can configure the gateway through a browser by accessing the configuration page on the server. The configuration page can be accessed at:
http://<server IP address>/FaxPressOSA/FaxPressConfig.aspx
Note: Replace <Server IP Address> with the actual IP address of the FaxPress server.
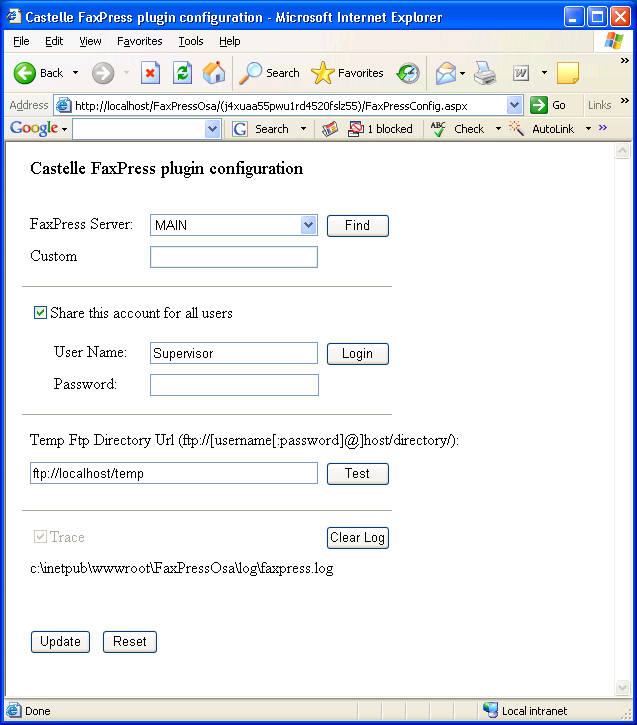
The FaxPress server name will be set to the name of the local server and cannot be changed.
The administrator needs to select the user account to use when faxing.
There are two modes supported:
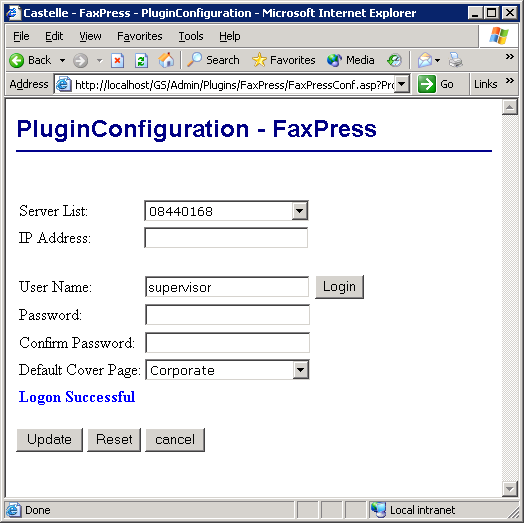
| ■ | All users send from a shared account and therefore do not need to login individually in order to fax. In this case check the Share this account for all users and specify a user name and password. Click Login to verify the account information. |
| ■ | Each user will need to login to his/her own account on FaxPress before being able to send a fax. In this case uncheck the Share this account for all users. |
The FTP directory field will also be pre-configured to point to the FTP directory on the local FaxPress server and cannot be changed.
For troubleshooting, you may turn on tracing by check the Trace checkbox.
Sending a Fax
When you click the FaxPress button on the Sharp MFP control panel, the user authentication screen prompts you to login to FaxPress. This screen shows up only if the administrator configured the connector not to use a shared account but to force each user to use their own account.

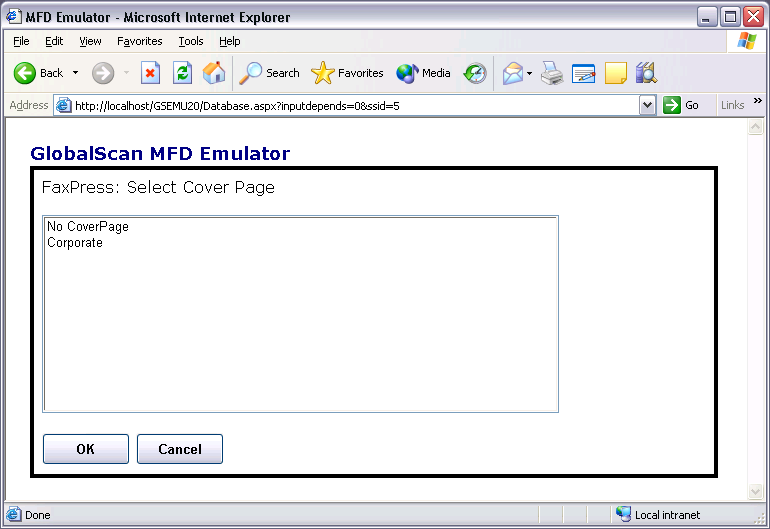
Once you are logged in, the next screen prompts you to select the fax parameters including sender name, recipients, subject and cover page. You may select from any of your personal or corporate cover pages:
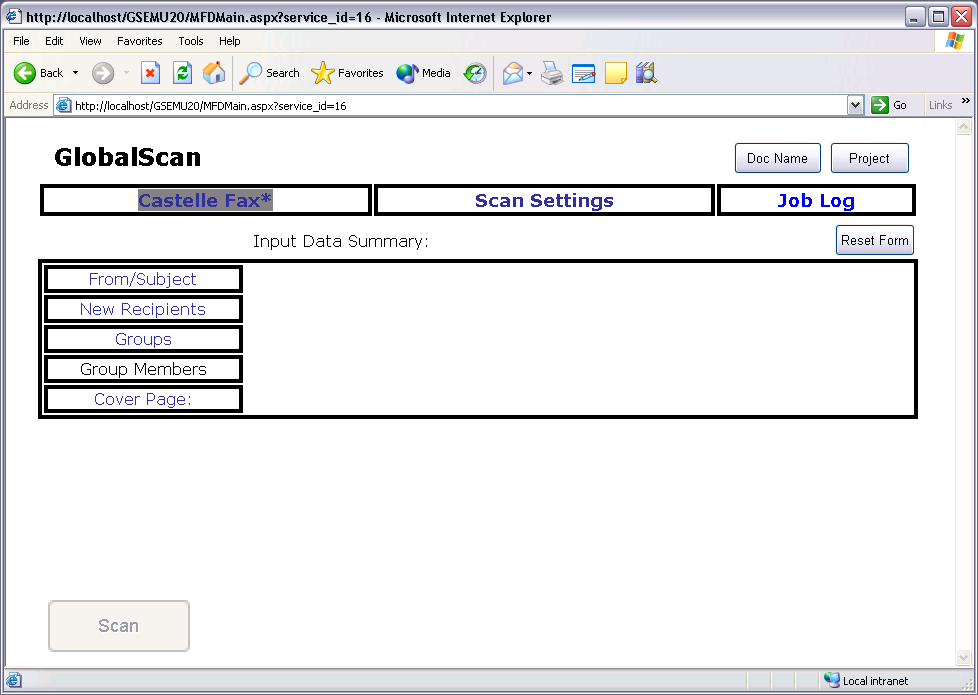
You can add recipients manually or by selecting them from any database phonebook:

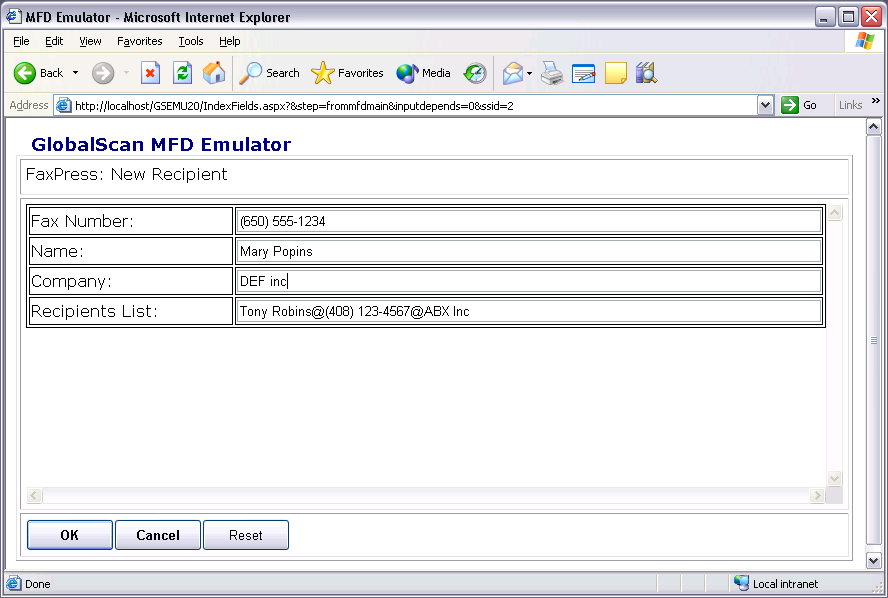
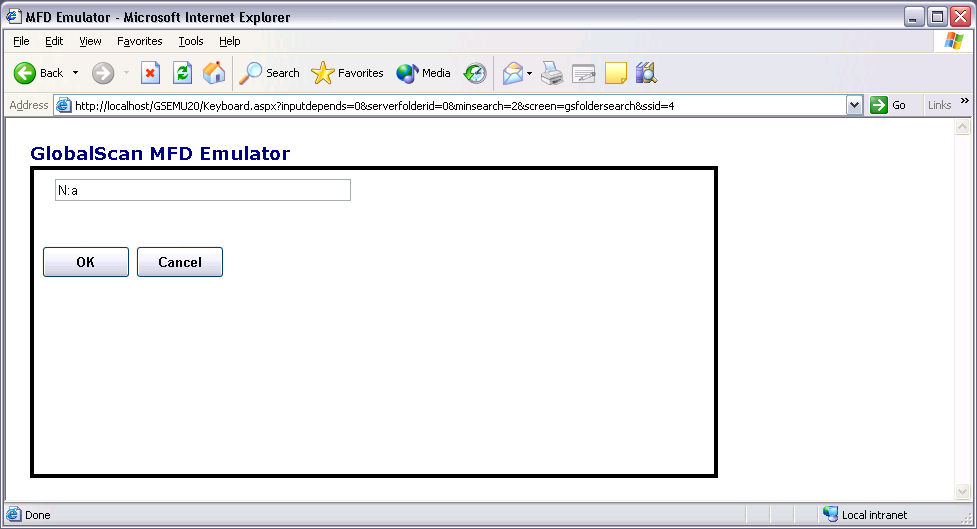
To define a recipient manually, specify the recipient name, fax number, and company (only a fax number is necessary).
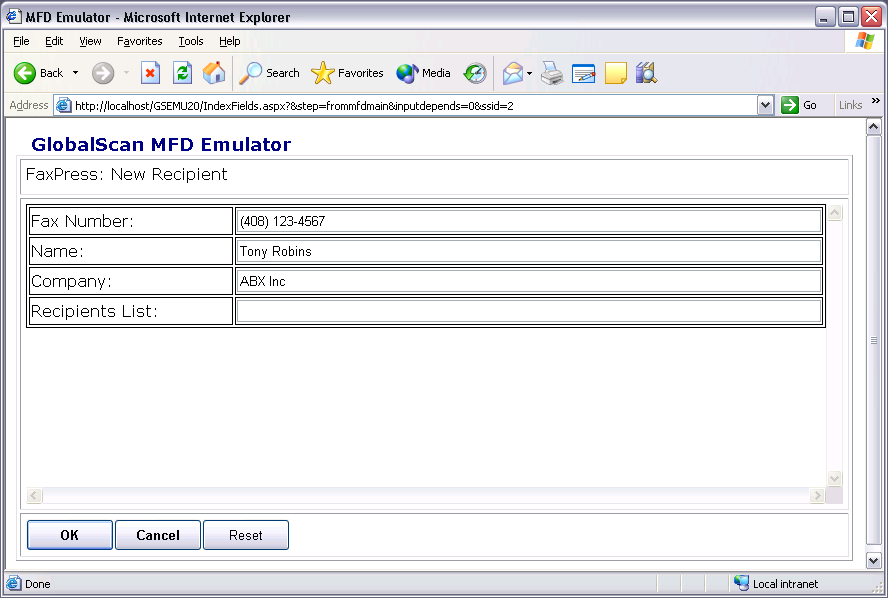
You may combine recipients that you define manually with recipient that you select from the phonebooks. You may also override the information from the phonebook by editing and modifying any of the recipients' parameters.
Selecting Recipients from FaxPress Database Phonebooks
FaxPress supports any number of database-based phonebooks. These may be file-based databases such as Microsoft Access or Excel or any SQL database. For information about setting up FaxPress database address books, view Contacts and Phone Books . Once you setup the phonebook in FaxPress it becomes visible through the FaxPress Sharp connector so users can select recipients directly from the MFD control panel.
When you choose to select recipients from FaxPress database phonebooks, the one-click search screen will be displayed:
This screen allows you to:
| ■ | set the default phonebook. |
| ■ | click the first letter of the recipient last or first name. |
To switch from first name to last name, and vice versa, click on the corresponding button.
Setting the default phonebook
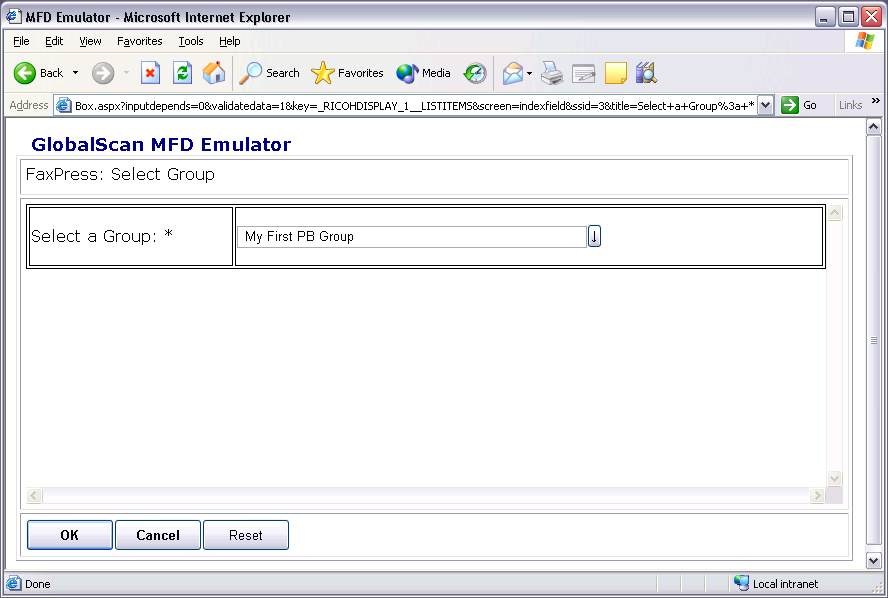
Each phonebook may have multiple views (groups). You can change the selected phonebook or view by clicking Change PB, which will display the list of all available phonebooks and groups as defined in FaxPress:

One-Click Search
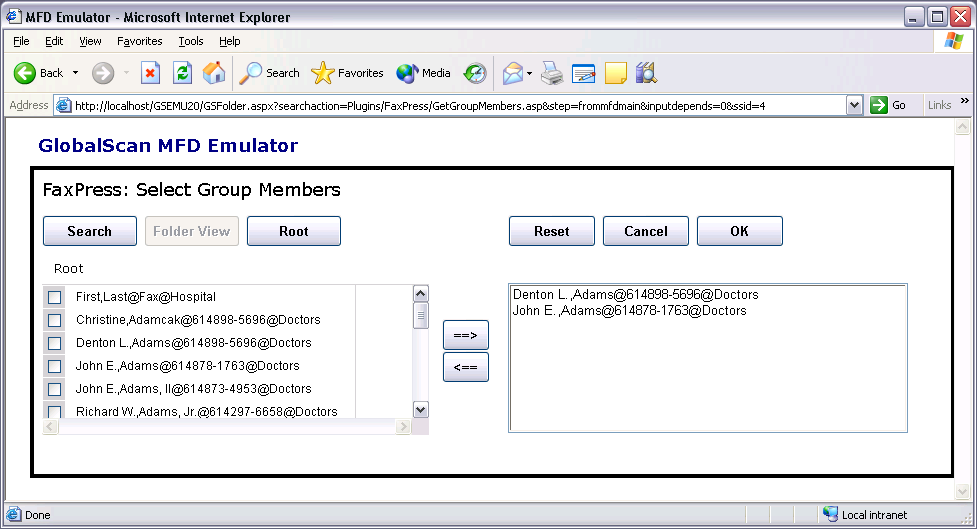
Click on the first letter of the recipient’s first or last name. The list of matching recipients will be displayed:
You may also select to create a filter by specifying a combination of name, fax number and company. You may specify a single parameter or any combination of all three. For example: If name = Ja and the fax number = 408, all recipients whose names start with Ja from the 408 area code will be displayed.
Scanning the Document and Sending the Fax
When you are done defining the fax parameters, click Apply. The next screen shows up and prompts you to start scanning the document

The document will be scanned and transmitted to the FaxPress:
|
FaxPress Premier WebHelp
Last Updated: 11/1/2007
E-mail this page |
Castelle 855 Jarvis Drive, Suite 100 Morgan Hill, CA 95037 Toll-free 800.289.7555 Tel 408.852.8000 Fax 408.852.8100 |